Every ecommerce brand already lives in spreadsheets. Your product catalogue, your inventory system, your SKU database — these are CSV files at heart. CSV-driven image generation meets your team where they already work, rather than requiring a new interface or technical integration.
The advantages over manual image generation (uploading one product at a time) are significant:
For brands with large catalogues or frequent product launches, CSV-driven generation is the difference between photography being a bottleneck and it being an automated process.
A well-structured CSV for image generation needs the following columns:
| Column | Description | Example |
|---|---|---|
| sku | Unique product identifier | SHIRT-BLK-M |
| product_name | Human-readable product name | Classic Black Tee - Medium |
| source_image_url | URL or file path to source image | https://cdn.example.com/products/shirt-bk.jpg |
| style_preset | Named preset or style code | studio-white-soft |
| scene_description | Additional scene instructions | Cotton fabric, clean white background, soft natural light |
| output_count | Number of images to generate | 3 |
| priority | Processing priority (high/normal/low) | high |
| notes | Any special instructions | Emphasise collar detail |
Optional columns for advanced users:
You don't need all columns for basic use. A minimal CSV with just SKU, source image URL, and style preset is enough to get started.
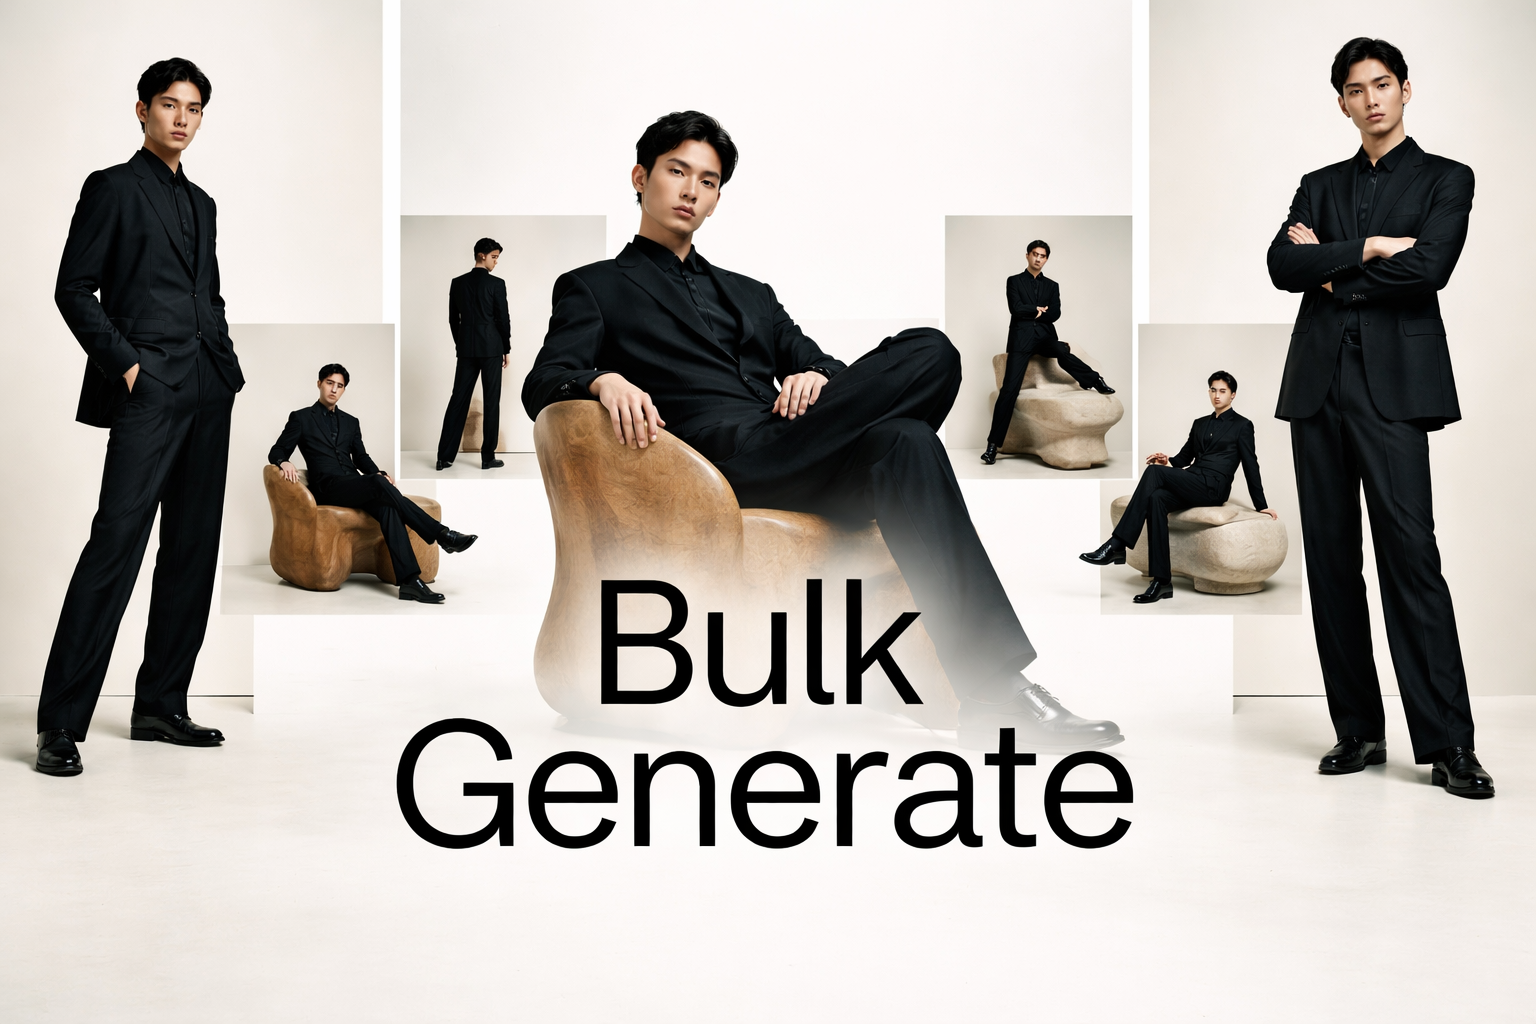
Sellable's bulk processing pipeline accepts CSV uploads directly:
Sellable's platform turns a single product photo into studio-quality images, cinematic video, and on-brand campaigns — generated, refined on the canvas, and published straight to your store.
Pro tip: Start with a test CSV of 10–20 SKUs to validate your column mapping and style preset before submitting your full catalogue.
After processing, Sellable provides a results CSV that mirrors your input with additional columns:
Download the results CSV and filter by status. Errors (typically 2–5% of jobs) usually stem from low-quality source images or invalid URLs. Fix the source and resubmit those rows.
For bulk review, Sellable also provides a gallery view where you can approve or reject batches of images quickly — more efficient than reviewing through the CSV alone.
The complete automation chain — from CSV to published product listing — works like this:
Shopify:
1. Generate images via Sellable CSV pipeline
2. Download results CSV with image URLs
3. Merge image URLs into Shopify's product import CSV format
4. Upload to Shopify via Admin → Products → Import
WooCommerce:
1. Generate images via Sellable CSV pipeline
2. Download results CSV
3. Use WooCommerce Product Importer with the Sellable URL columns mapped to image fields
4. Import and publish
Both platforms support up to 8 product images per listing, mapped by column position in the import CSV. With a bit of spreadsheet work, the entire pipeline from source image to published listing is achievable in an afternoon.
Sign up for free and transform your product photography with Sellable.
Get started for free