DIY Tutorials
Sellable Article

How to Take Product Photos for Shopify at Home

Sellable Team · November 5, 2025 · 6 min read
Sellable Blog

Shopify image requirements

Before you shoot, know what you're aiming for:

SpecRequirement
Minimum dimensions800 × 800px (2048 × 2048px recommended)
Maximum file size4096 × 4096px
Aspect ratio1:1 (square) strongly recommended for consistent grids
File formatJPEG for photos; PNG for images with transparency
File sizeUnder 4MB per image

The 1:1 (square) aspect ratio is crucial for your product grid to look uniform. If some images are landscape and others portrait, your grid will look jagged and unprofessional.

Home Shopify studio setup

You need four things:

  1. 1.White foam core sweep — one board flat on your table, another curved up behind it as a background. Tape or clip them together.
  2. 2.Window light — position the sweep perpendicular to your largest window
  3. 3.Fill reflector — another foam core board propped opposite the window
  4. 4.Camera on a tripod — at a consistent height and distance from your product for every shot

Mark your camera position with tape so every product is photographed from exactly the same angle.

Shooting workflow

The Sellable Platform

Free tools are
just the start.

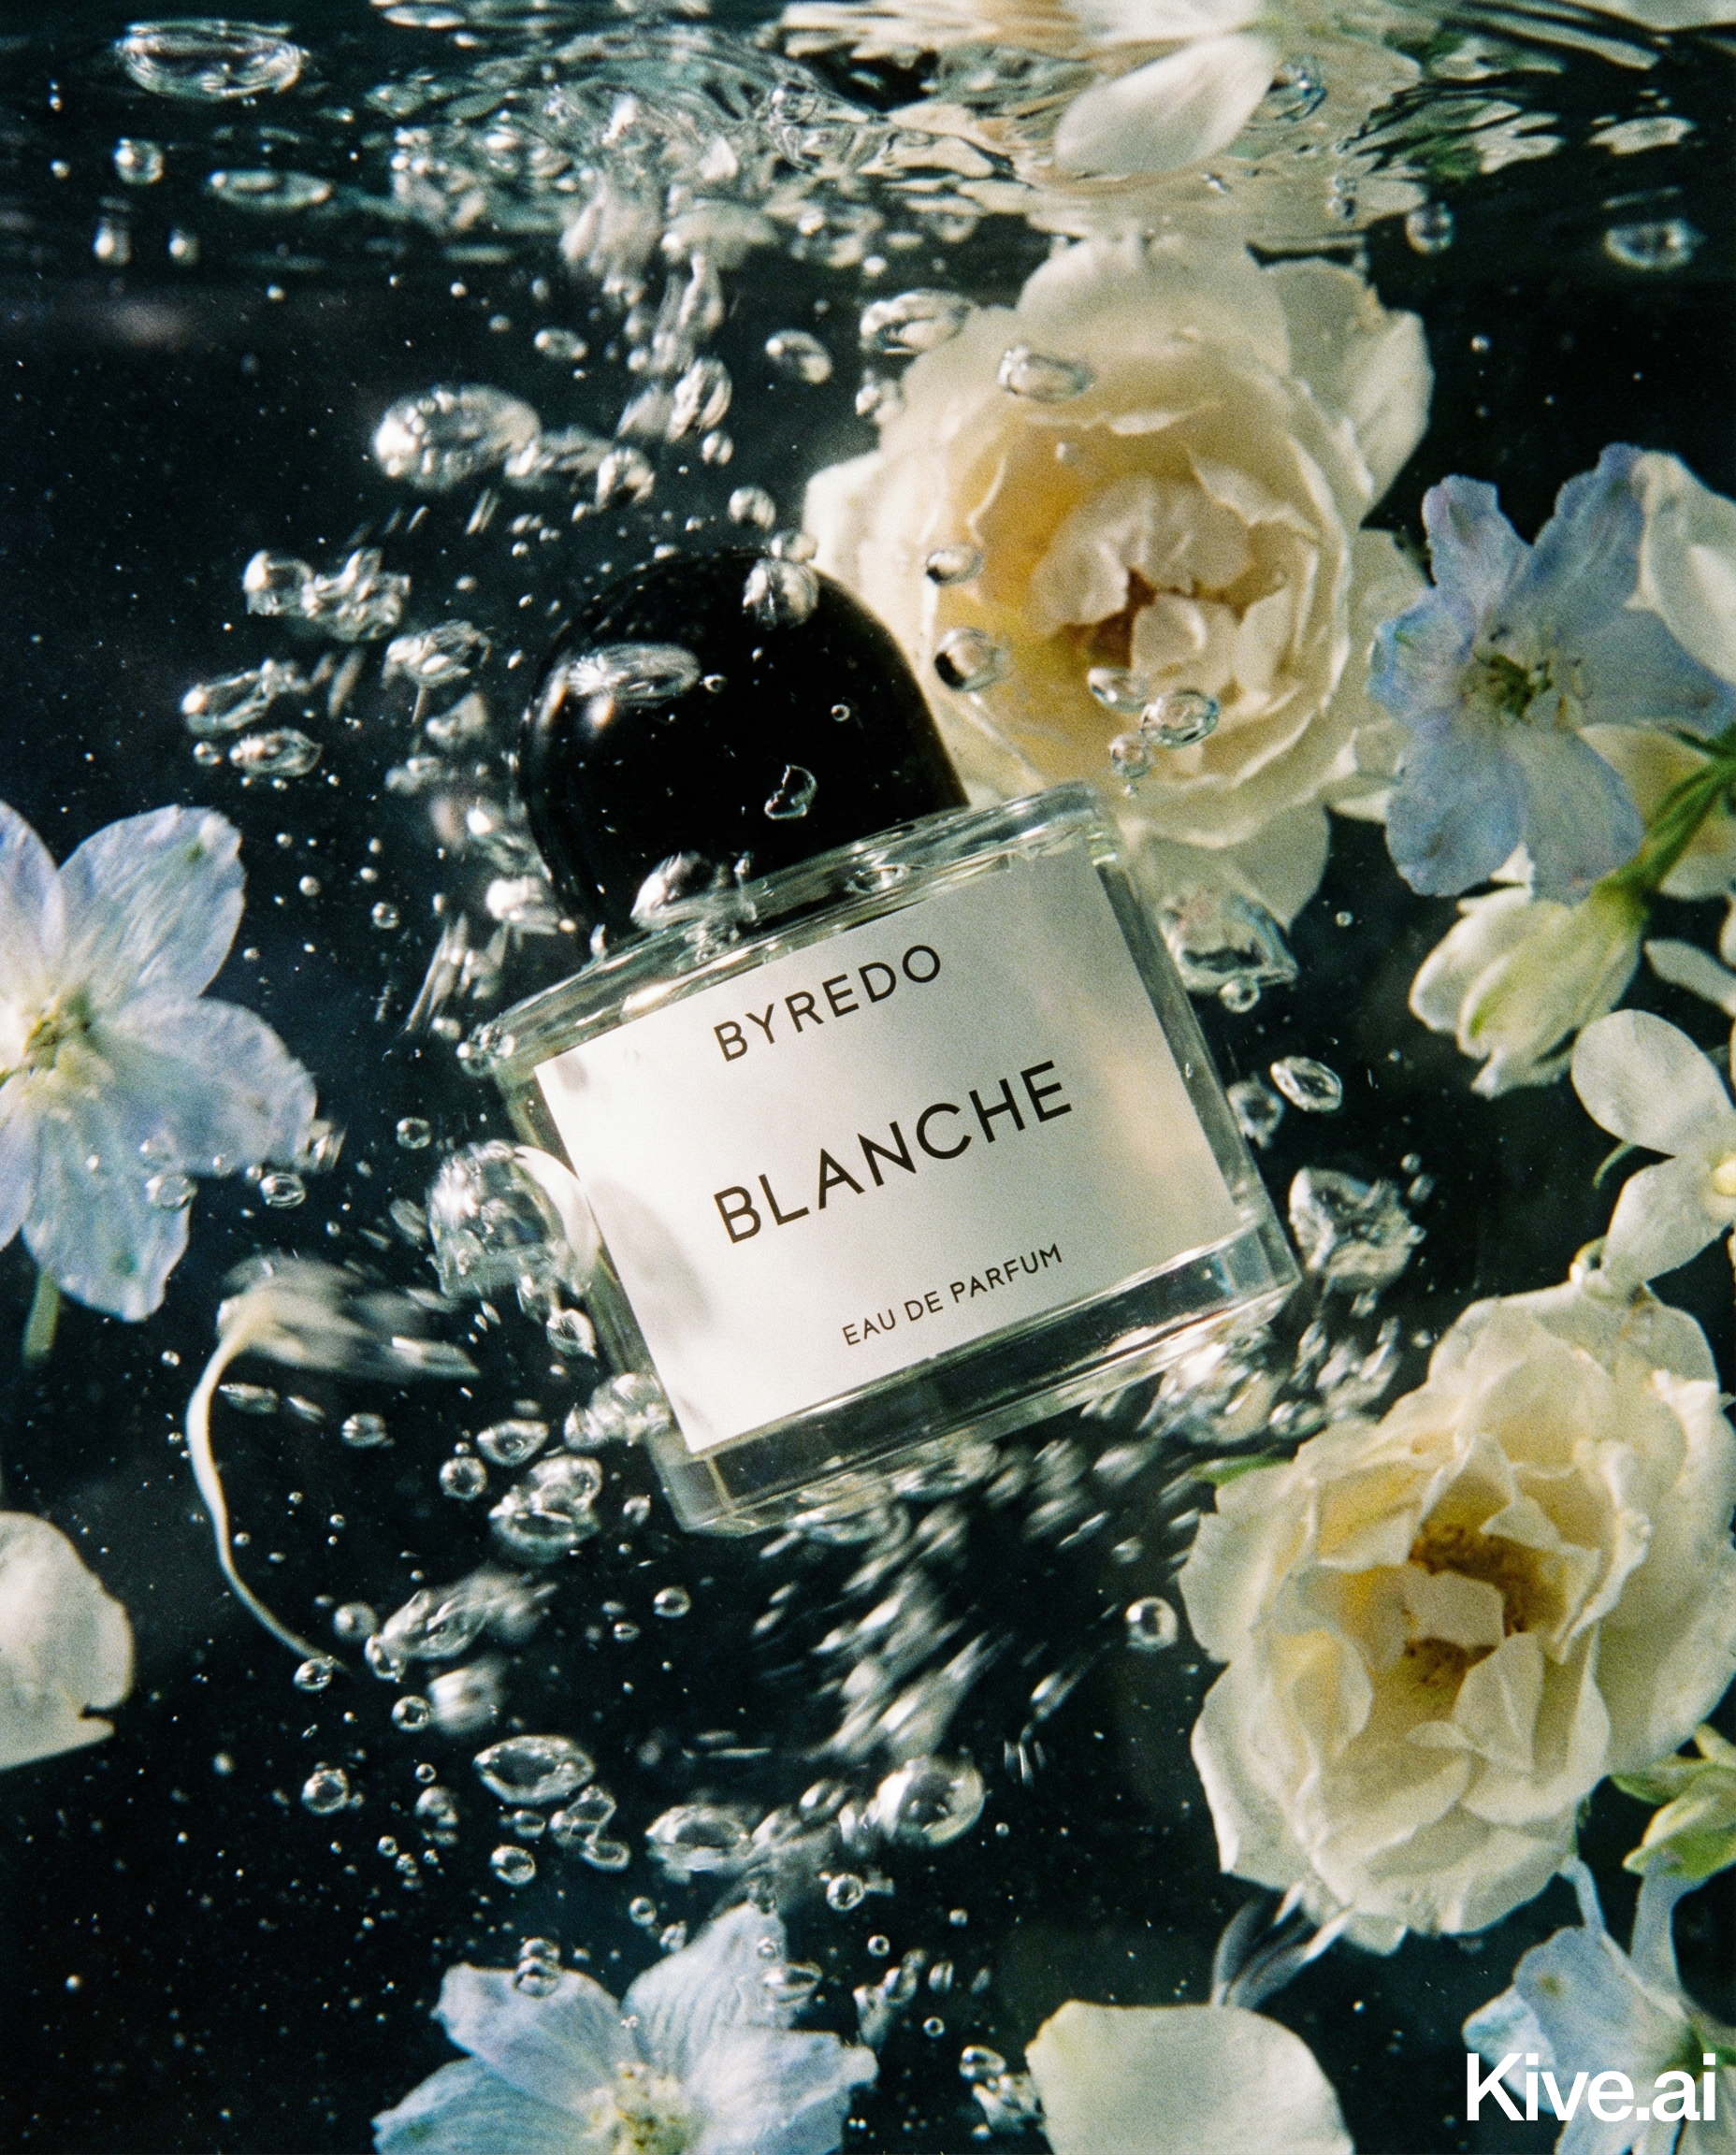
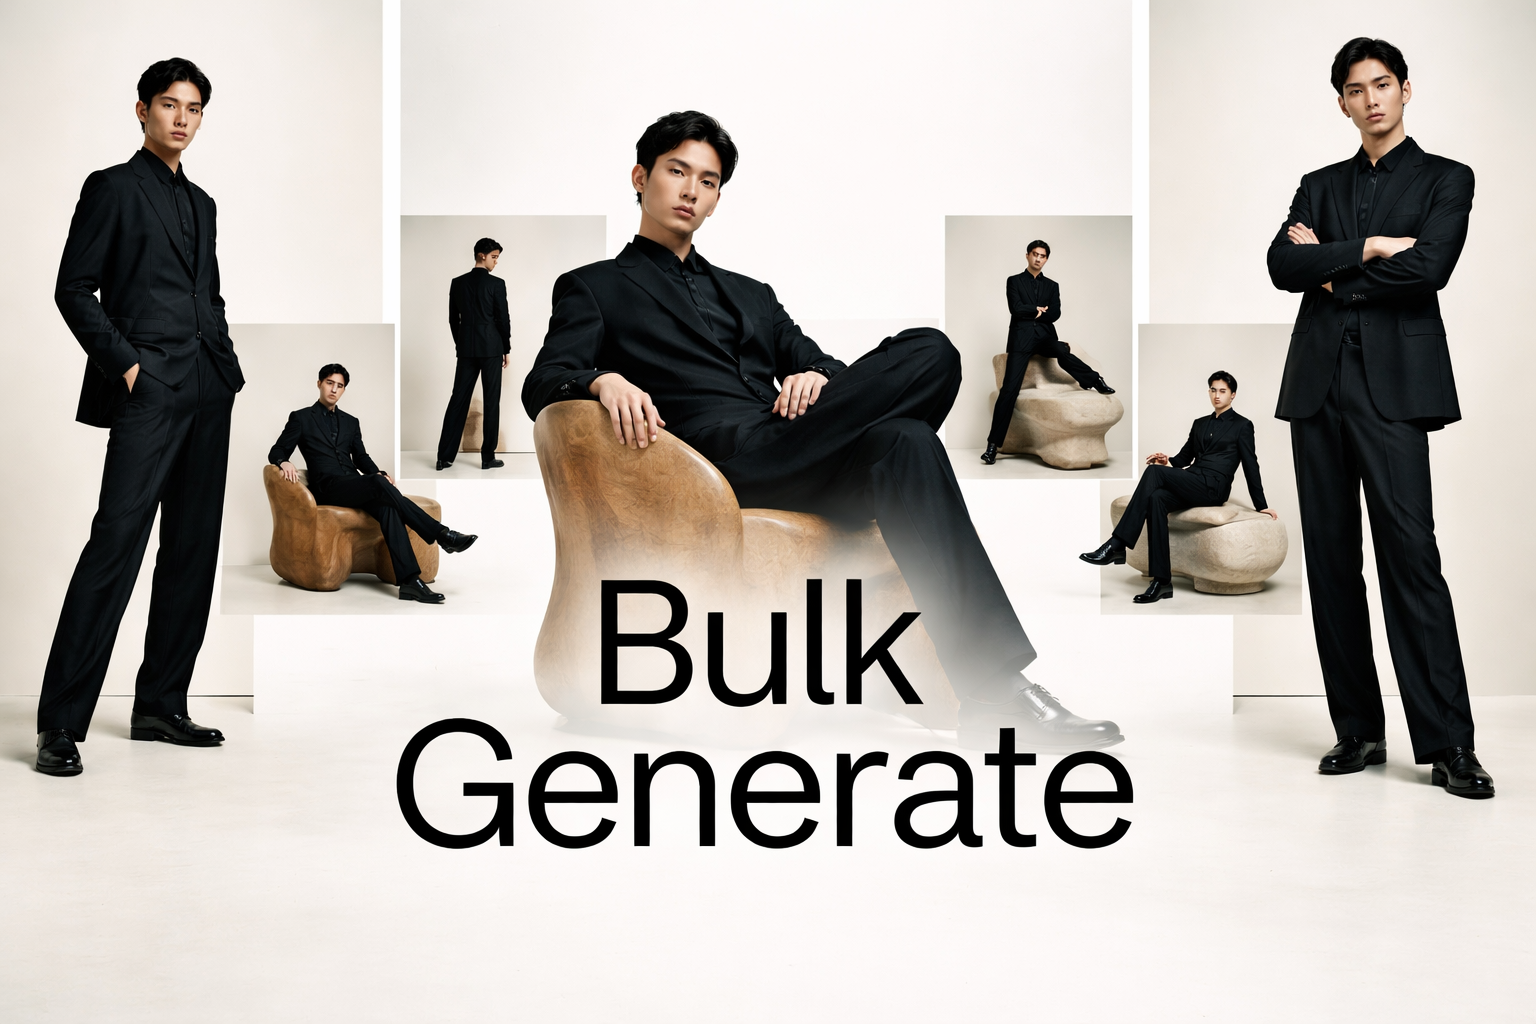
Sellable's platform turns a single product photo into studio-quality images, cinematic video, and on-brand campaigns — generated, refined on the canvas, and published straight to your store.

Studio photos & video from one product image
Train your brand style for consistent output
Bulk-generate and push to Shopify in one click
Get started free →
My Brand · Studio Generate
✓ On-brand

Efficient home shooting workflow for Shopify:

  1. 1.Prep batch — clean and arrange all products the day before
  2. 2.Set up — shooting area, consistent lighting, camera position
  3. 3.Test shot — photograph one product, check on screen for white balance, exposure, and sharpness
  4. 4.Shoot all products — same angles for each: front, back, side, detail
  5. 5.Review — check each shot at 100% zoom for sharpness before moving to next product

Aim for 5–8 shots per product: hero, alternative angles, and at least one lifestyle or context shot.

Editing for Shopify

Post-processing checklist:

  1. 1.White balance correction — background should be neutral white or light grey
  2. 2.Exposure adjustment — ensure product is well-lit without blown highlights
  3. 3.Crop to 1:1 square with product centered and roughly 85% of frame
  4. 4.Sharpening — a small amount improves web display
  5. 5.Background cleanup — remove any dust, shadows, or colour casts from the background

Use Lightroom's sync feature to apply the same crop and edit adjustments to all products in a batch.

Uploading and organizing

  • Name your files systematically: product-name-colour-angle.jpg (e.g., ceramic-mug-blue-front.jpg)
  • Upload the hero shot first — Shopify uses the first image as the main product image
  • Add alt text to every image: descriptive, keyword-rich, accurate
  • For variant images (different colours/sizes), add each to its specific variant in the Shopify product editor

Try Sellable free →

Shopify photographyhome photographyecommerce photographyproduct photographyShopify store
More Articles
Free Tools

Ready to get started?

Sign up for free and transform your product photography with Sellable.

Get started for free