You need remarkably little to start producing professional product photos:
| Item | Cost | Where to buy |
|---|---|---|
| White foam core boards (×4) | $12 | Art supply store |
| Mini tabletop tripod | $15 | Amazon |
| Bulldog clips (pack) | $5 | Stationery store |
| Sticky putty (to position products) | $3 | Stationery store |
| White contact paper (for surfaces) | $10 | Amazon |
| **Total** | **$45** |
Your phone is the camera. If you have an iPhone 12 or later, or a recent Android flagship, it is more than capable.
For shooting:
- Adobe Lightroom Mobile (free) — manual camera controls, ProRAW
- Open Camera (Android) — full manual control, free
For background removal:
- Remove.bg — free tier gives 5 free images/month at reduced resolution
- Background Eraser app — manual but free and effective for simple backgrounds
For editing:
- Lightroom Mobile (free tier) — excellent colour correction and batch editing
- Snapseed (free) — healing brush, selective adjustments
- Canva (free tier) — resize, add text, create ad graphics from your photos
For generating lifestyle backgrounds:
- Sellable — takes your clean product photo and generates professional studio or lifestyle backgrounds
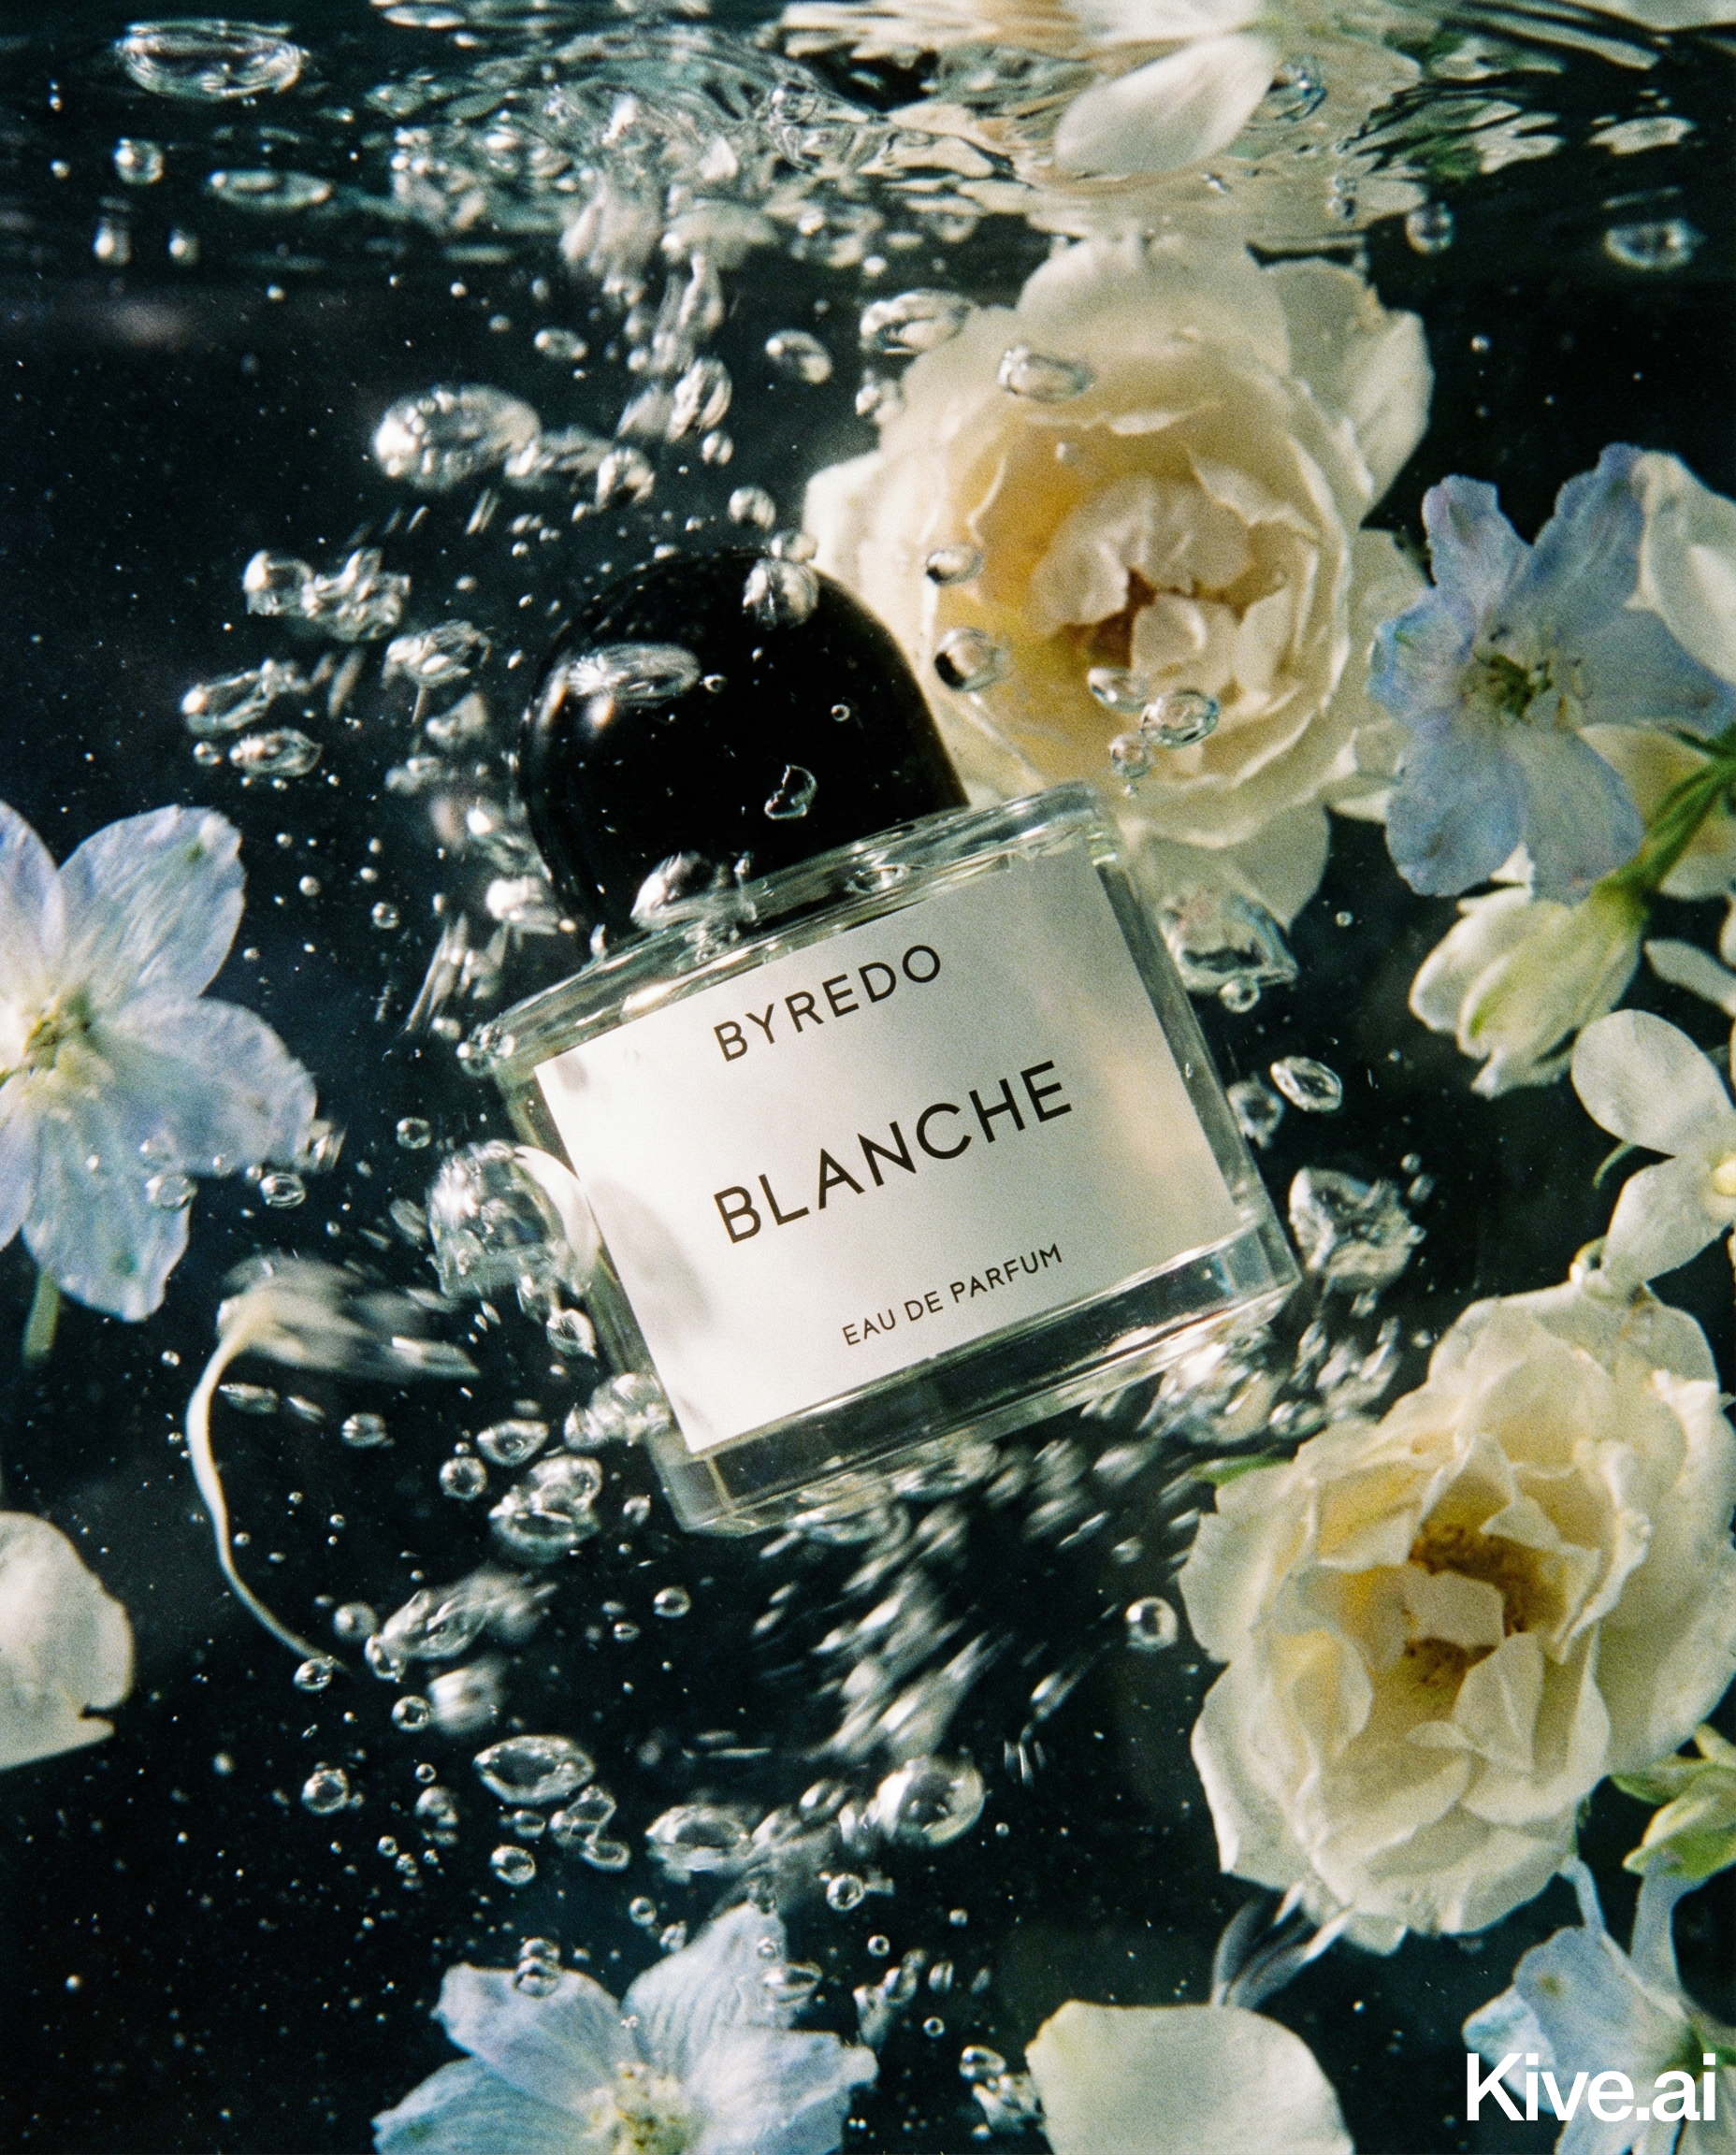
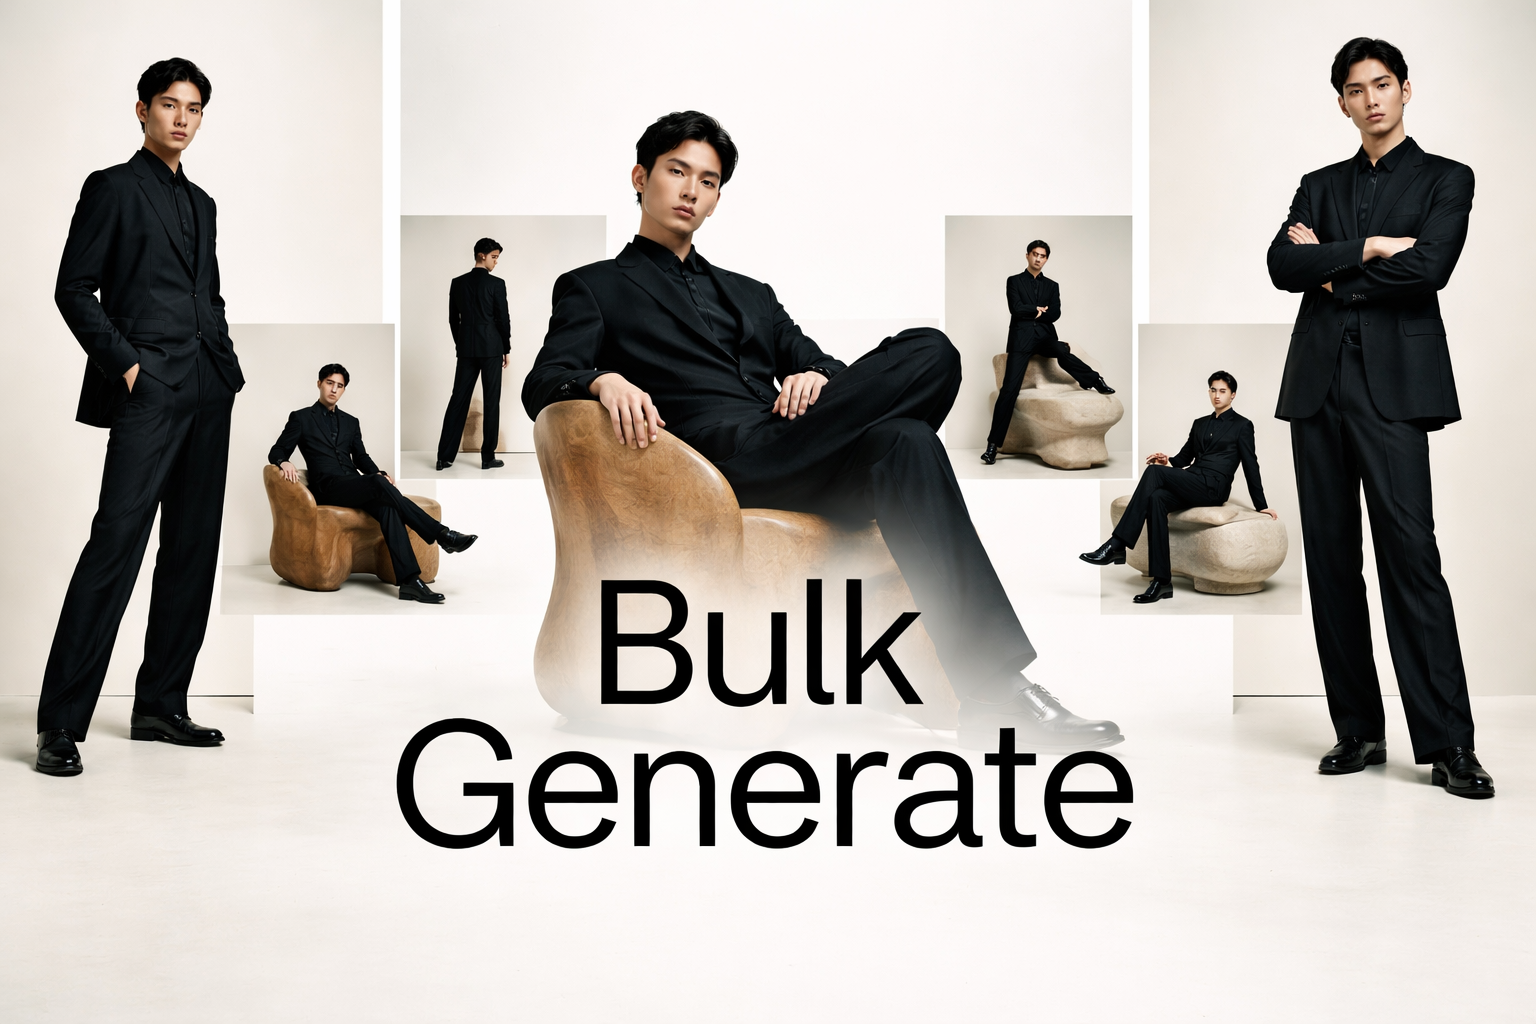
Sellable's platform turns a single product photo into studio-quality images, cinematic video, and on-brand campaigns — generated, refined on the canvas, and published straight to your store.
The biggest hidden cost in product photography is time. Batching solves this:
A batched session of 20–30 products typically takes 2–3 hours including editing.
Upgrade your setup when: - You're shooting more than 100 products per month (invest in consistent artificial lighting) - Your current photos are limiting your conversion rate (run an A/B test first to confirm) - You've scaled to a point where your time is worth more than the cost of a photographer
Until then, a clean window setup and good technique will take you far.
Sign up for free and transform your product photography with Sellable.
Get started for free